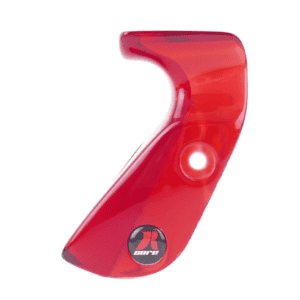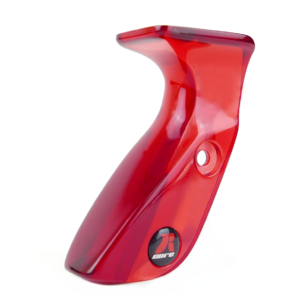
ALL the grips that come out of our workshop are tested for fitting. Our collection of risers is closing to a hundred and constantly growing. And for super-rare risers, that we cannot purchase anymore, we get a loaner, scan it and preserve its grip interface in eternity.
There are times though, where a customer mentions that the grip does not fit on their bow. What can be done about that ? Lets explore.
… bad fitting is a false positive. What that means is that most of the times, the grip fits but it might be tricky (as tricky as inserting a grip is). For example, on slotted interfaces (like the Fivics, ATF-DX, Kinetic (some) etc), the top and bottom sides may stop the grip from being inserted if you don’t put it correctly. If the grip goes in with an angle, it will hit on the edges of the interface.
On specific brands, like the W&W , there is some shoe glue below the grip, to keep the tolerances in check. As you may know, while the grip interface widths of W&Ws vary hugely, depending on model, paintjob and length version, the grip is the same. This is accomplished by providing a wedged grip which is narrower toward the front edges and wider on the part of the grip that sits on the riser. This results to a fake “tight” fit as the tight part is only at the edges . Moreover, to ensure the screws line up, the glue is used. This also serves as a damping method for the possibly lose fit of the grip.
On the contrary, we request for measurements to provide a good fit for the given riser. Less vibration, less fitting issues, less trouble in general. We use inhouse tools to verify the individual widths , even if the riser we have is different in respect to the interface width.
Moreover, since we produce each and every item inhouse, we can always verify that the accuracy of our inhouse machines is pretty tight to not allow machining/printing fluctuations. If the interface is designed for a specific width/shape, it WILL be as designed.
All the above is to provide an overview of how much work is put to make YOUR grip fit on YOUR riser. We take that job very seriously, more seriously than the riser manufacturers themselves and the overhead that the fitting adds to the production of a single grip is substantial.
So when a customer reports that the grip does not fit in some way, it is usually a trivial issue of not correctly putting the grip on or not removing any glue etc.
So, if you receive an email to provide measurements for your riser, please know that this is an essential part of the process and we need you to be as meticulous as you can, for the grip to be a glove-fit on your riser and your peace of mind being preserved that the grip IS made for you.
In any other case, if you are in this position of having a non-fitting grip:
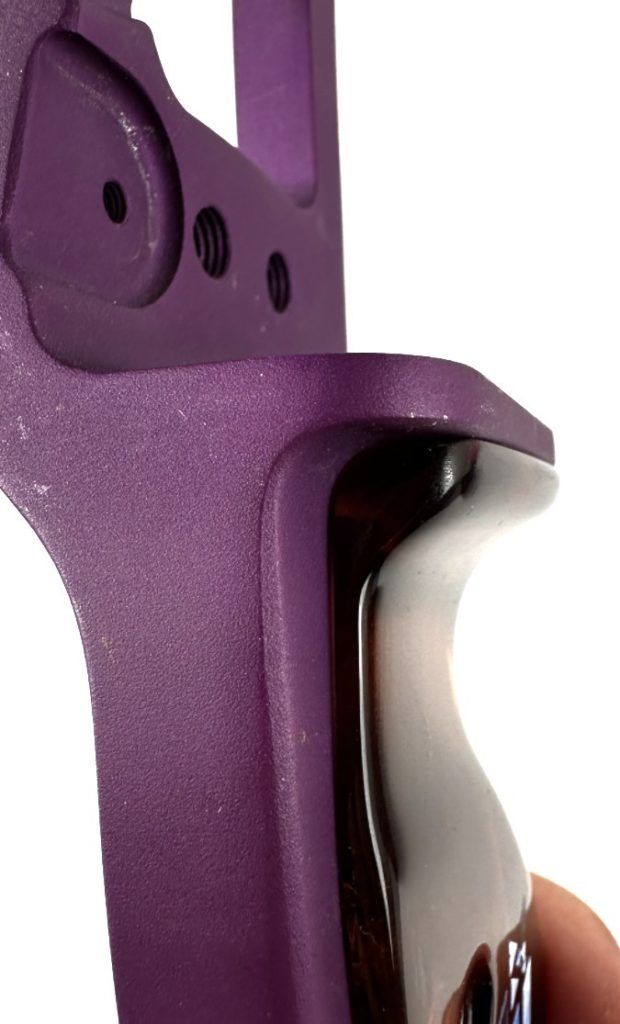
Part of the interface are the screw holes. While some manufacturers have screw tapping as a part of their CNC programs, some others are more “playful” on those positions, resulting in variance. For “those” manufacturers, you might realize we put larger diameter holes on our grips, to cover the fluctuation. There are some risers out there that even two risers of the same model/built, have differences and the same grip does not fit properly on one of them (see again the measurements post).
If you find yourself having a grip with screwholes “out there”, consider yourself blessed as you are one of the people that discovered yet another hugely different batch variation of that same riser. And please do let us know about it so we can incorporate the difference in our next iteration of that specific riser fitting.
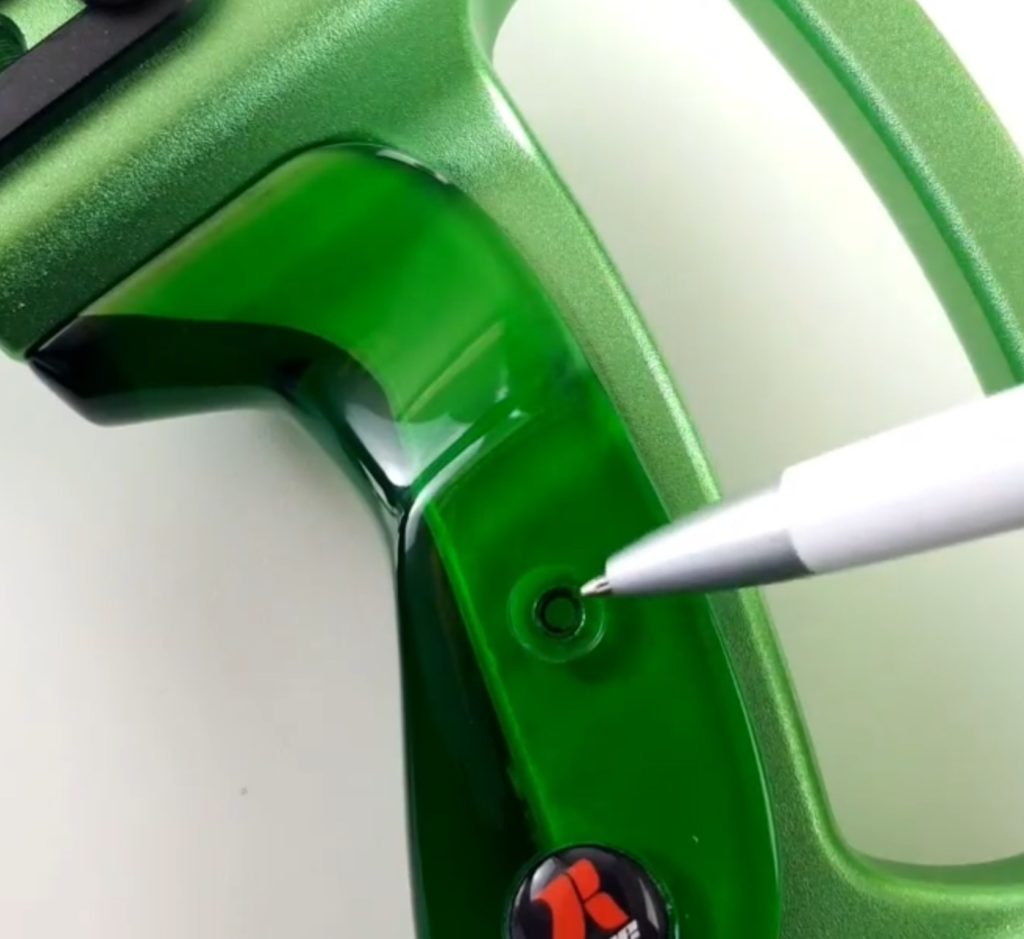
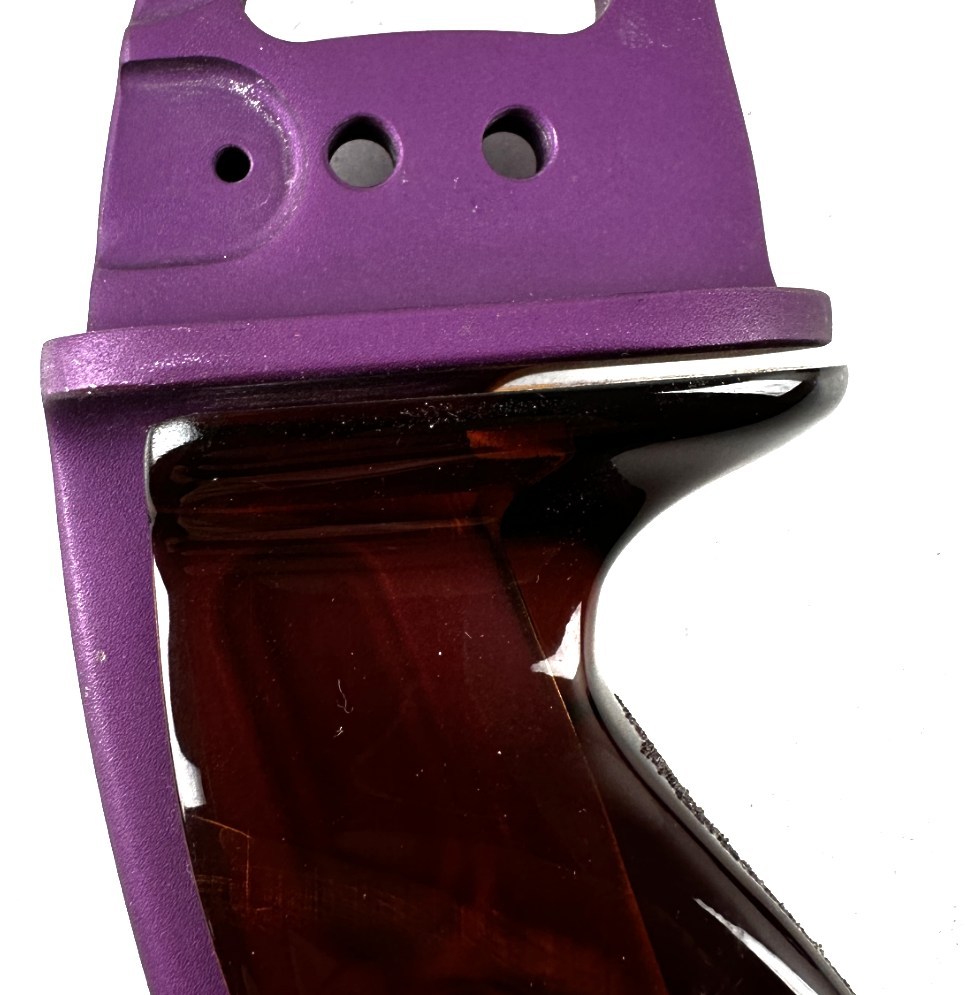
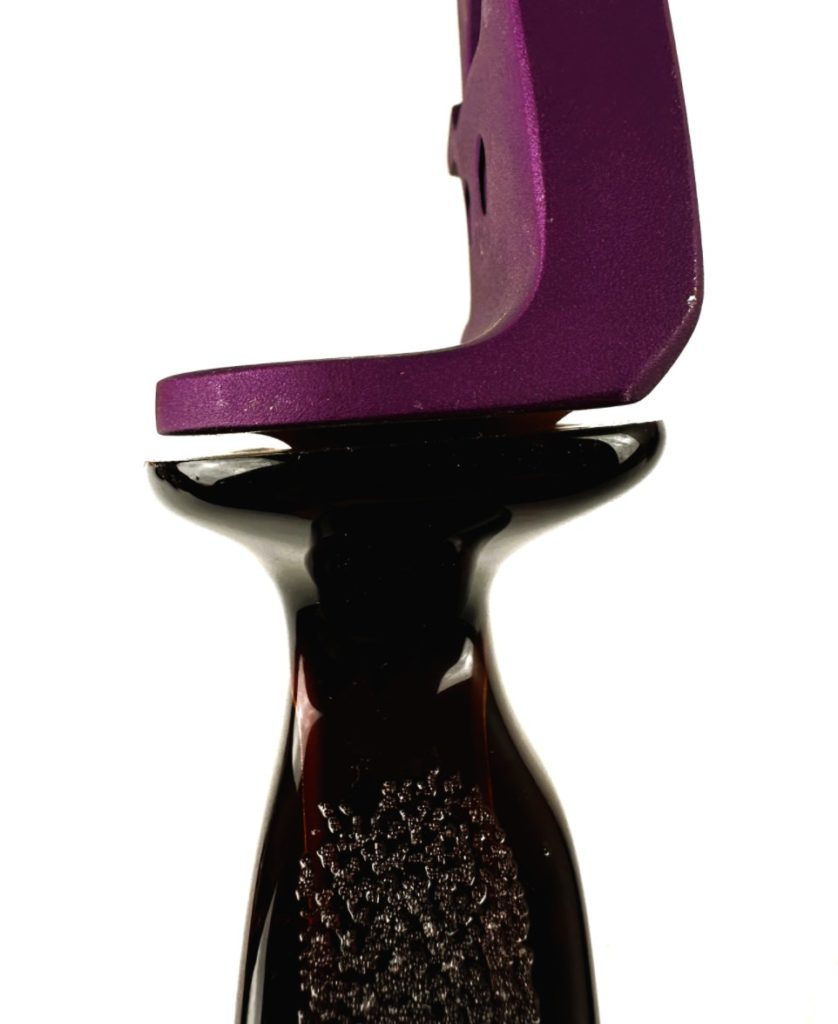
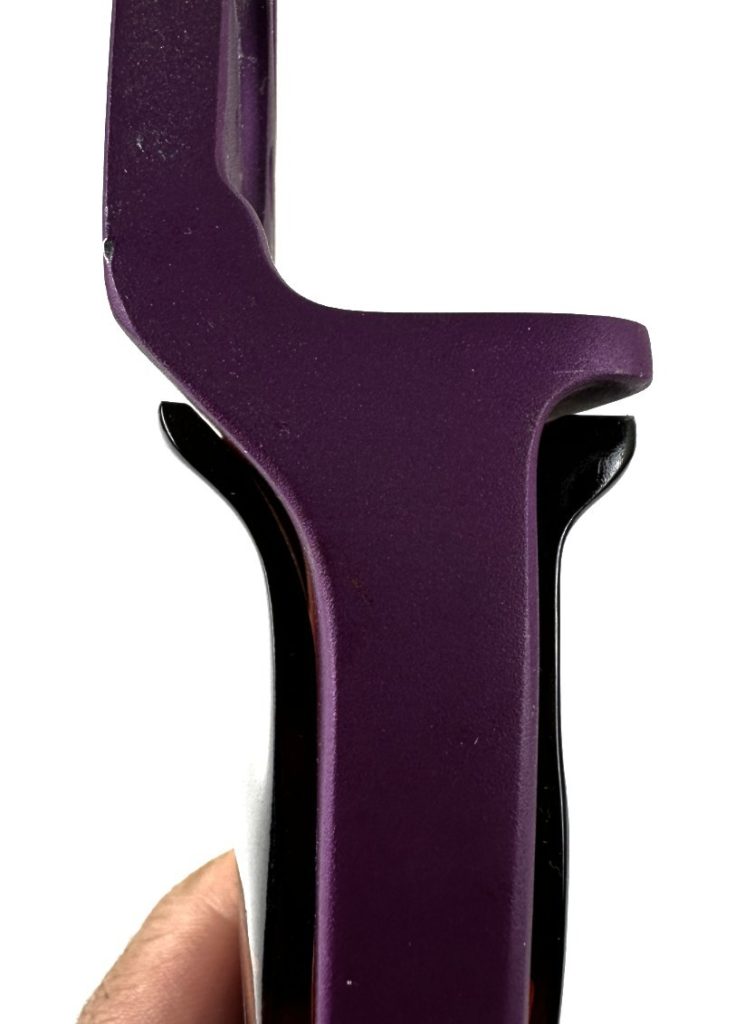
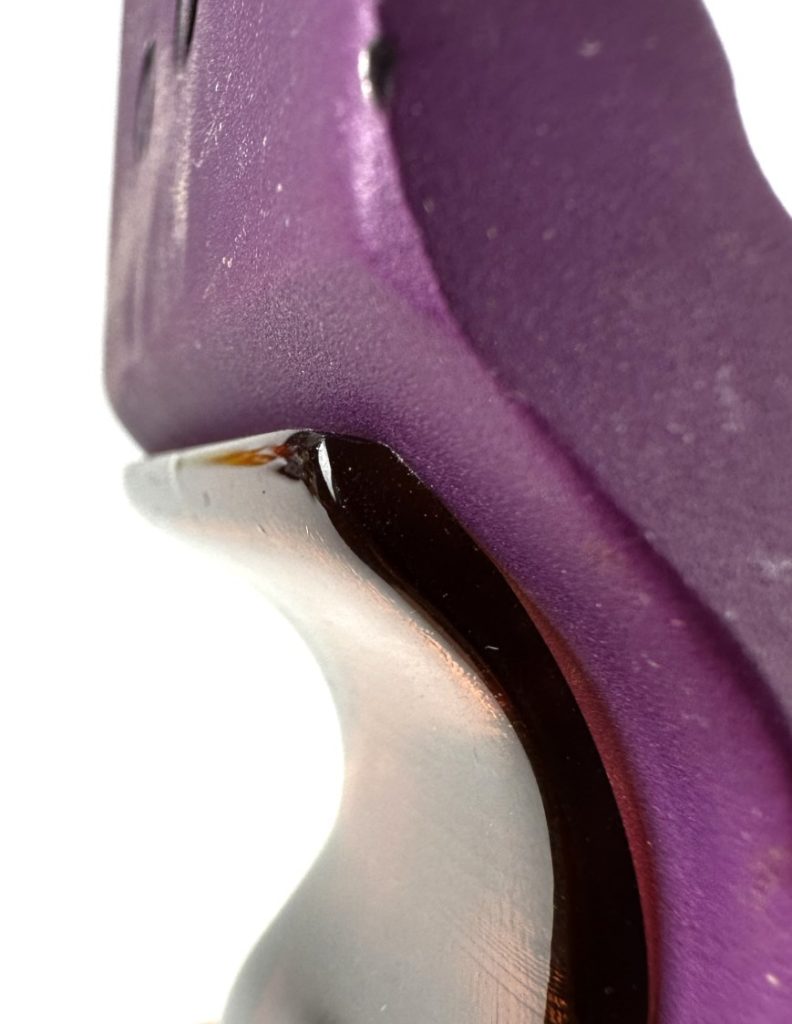
If you still can’t fit your grip and you find yourself going through the above solutions and have trouble, let us know. We will ask you for photographs of the ill fitting grip on the riser. What we are looking for, is that the grip TOUCHES the top and you have slid the grip as we mention above. Then snap a couple of photos as shown below:
Rest assured that if we just send you another grip, it will still fit the exact same way, so we probably need to investigate further.
We do our best to create good-fitting grips. We take our time for that part of the process and this process has been working very well for quite a well so, unless there was some kind of tragic human error on our side, the usual suspect is some initial awkwardness in putting on the grip or some riser manufacturer difference. Just consider the fact that some risers don’t fit the same OEM grip even if it is the same riser model or use glue to stabilize the grip and hide any misalignments.
So, if you think you have a bad grip, and have gone through all the above, let us know so we can guide you to what needs to be done.